What comes to your mind when you hear the term “hair blowout”? Do you picture yourself stepping out of a salon with effortlessly sleek, voluminous locks that look straight out of a beauty magazine? Or do you think of the time and effort it takes to achieve that level of smoothness and bounce at home? A hair blowout is not just about drying your hair—it’s a styling technique designed to enhance your hair’s natural texture, adding shine, movement, and a polished finish that lasts for days.
Understanding what a hair blowout entails will help you obtain the best results, whether you go to a salon or do it at home. Every step, from the tools and techniques employed to the products that provide long-lasting volume and frizz control, contributes to the immaculate appearance. In this article, we’ll explain what to anticipate from a professional salon blowout versus an at-home blowout, so you can determine which method is ideal for your hair goals and lifestyle.
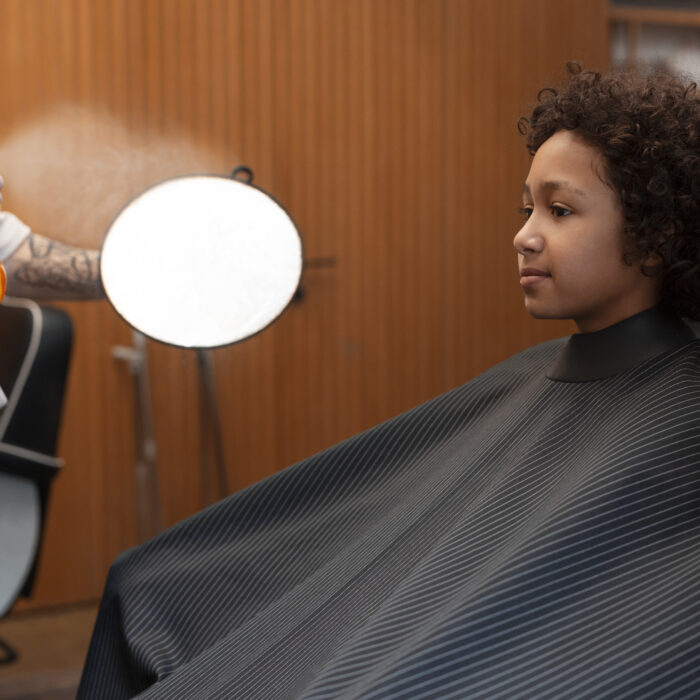
What a Salon Blowout Includes
A professional salon blowout is more than just drying your hair; it’s an experience that combines experienced techniques, high-quality products, and individualized style to provide a long-lasting, polished look.
Step 1: The Perfect Wash
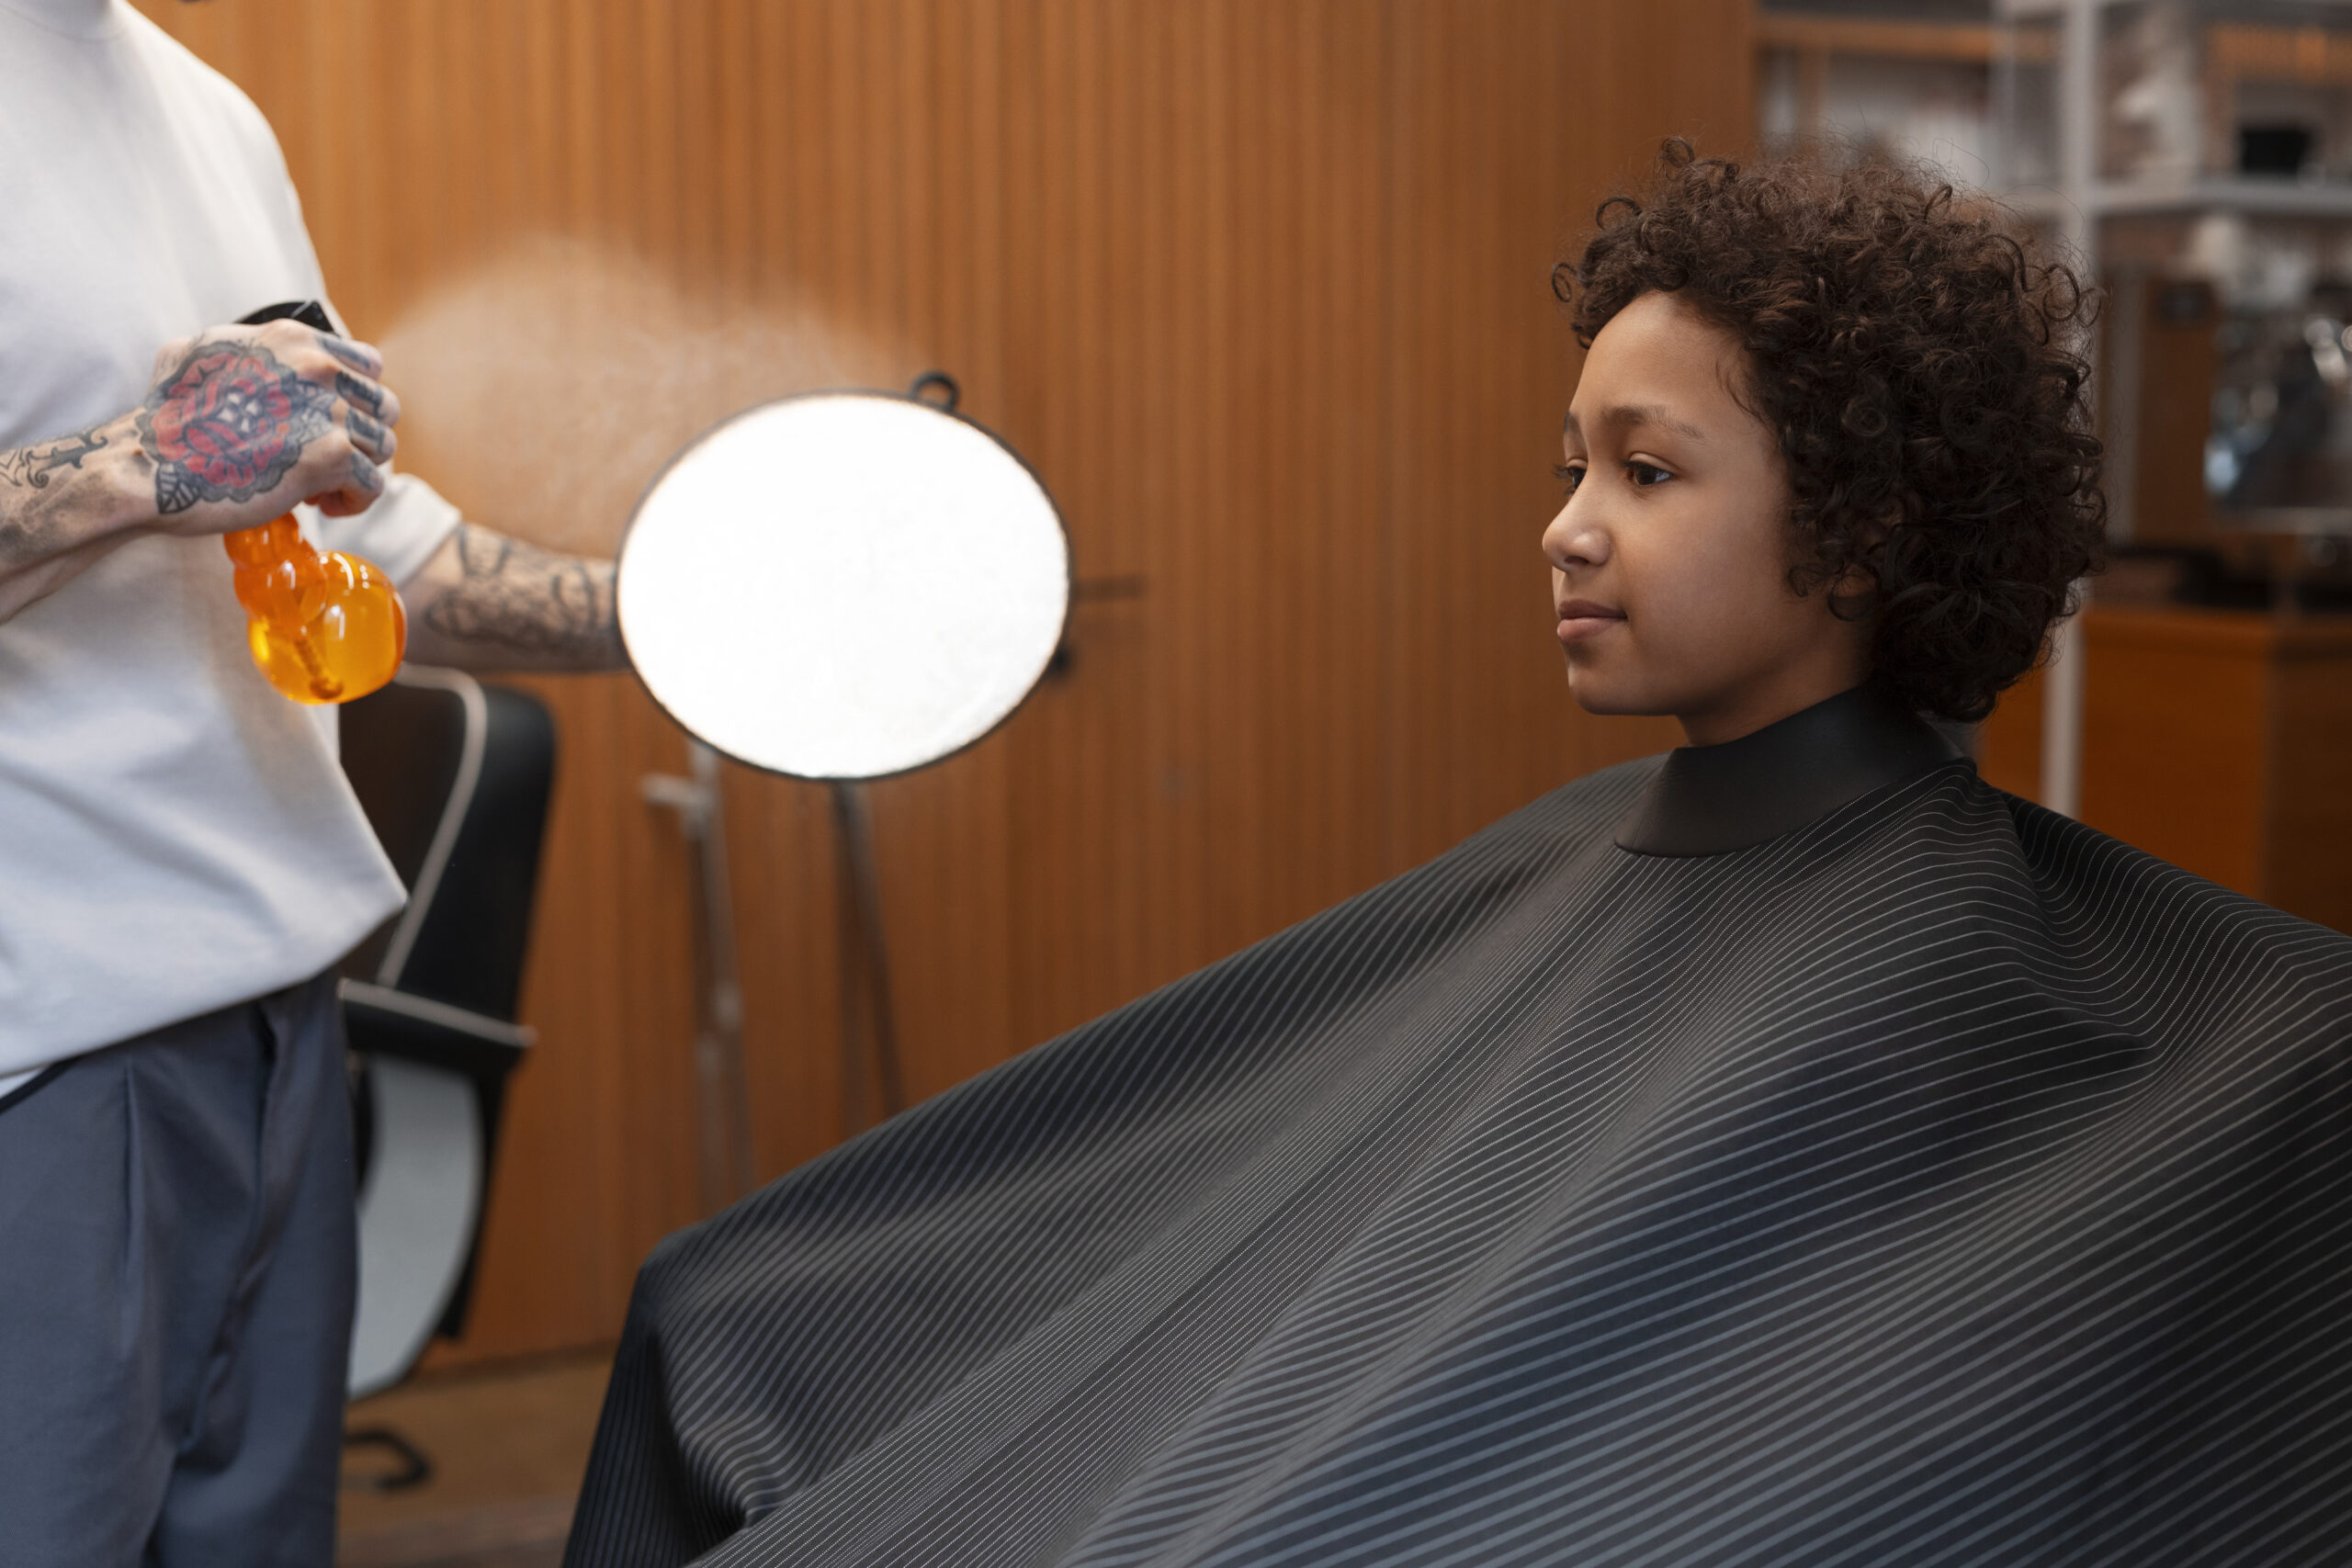
Every great blowout begins with a proper hair wash. Your stylist will start by shampooing your hair with professional-grade products tailored to your hair type. If you have dry or frizzy hair, they may use a moisturizing shampoo, while fine hair might get a volumizing formula to create extra lift. After shampooing, a high-quality conditioner is applied to nourish and protect the strands while maintaining bounce and movement. Some salons also offer scalp massages during this step, adding an extra layer of relaxation to the experience.
Step 2: Towel-Drying & Product Application
Once your hair is freshly washed, your stylist will gently towel-dry it to remove excess moisture without causing friction or frizz. Next comes the most important step—product application. Depending on your hair texture and styling goals, your stylist will apply a heat protectant spray to shield your hair from damage, a smoothing serum for sleekness, or a volumizing mousse for body and bounce. These products are carefully chosen to ensure your blowout lasts as long as possible while maintaining a salon-fresh look.
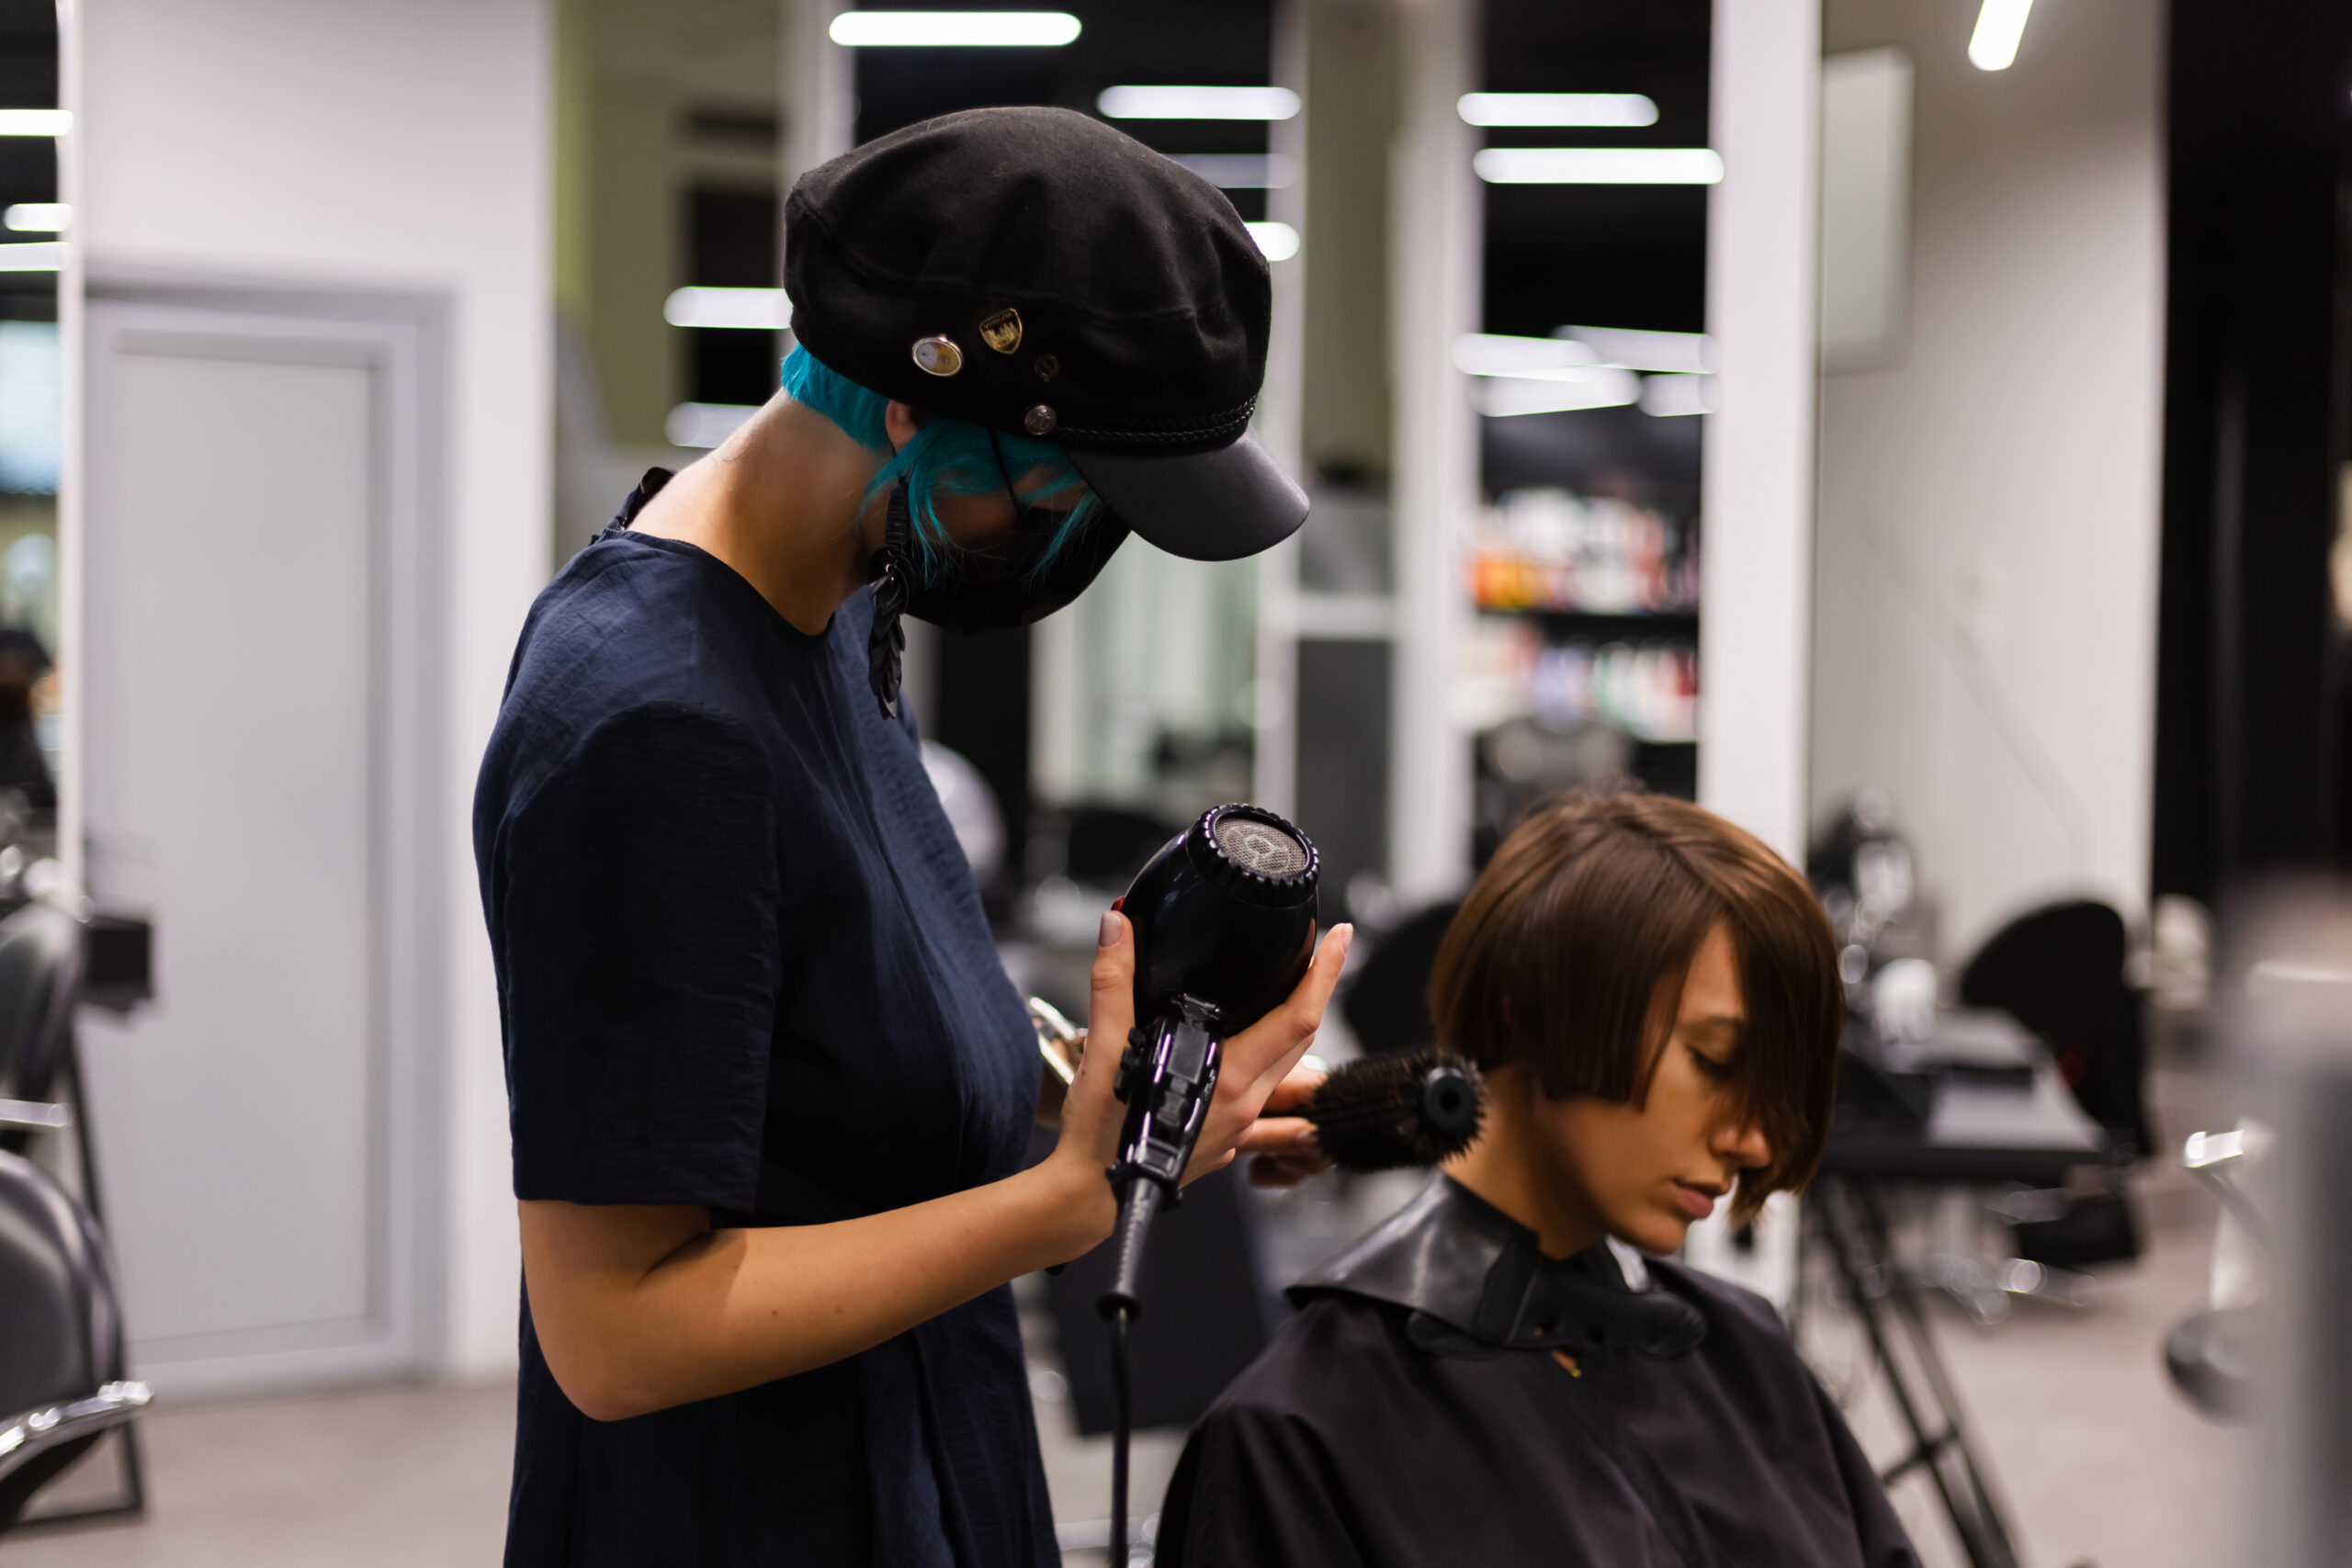
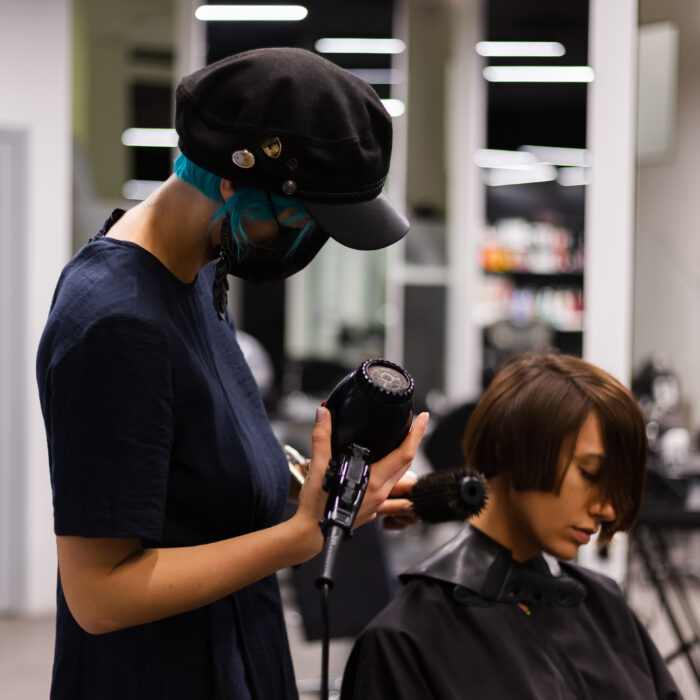
Step 3: The Blow-Drying Process
This is where the magic happens. Using a high-quality professional blow dryer and a round brush, your stylist will section and carefully dry your hair, working from the roots to the ends. The round brush plays a crucial role in shaping the hair, adding lift at the roots, and smoothing out frizz.
Professional-grade blow dryers have multiple heat and airflow settings, allowing stylists to control the amount of heat and direction of airflow for a flawless finish. If the extra volume is desired, the stylist may flip the brush upwards to create a lifted effect at the roots. For an ultra-sleek look, they may use a technique called “wrap drying,” where they smooth the hair tightly around the brush for a straight, polished appearance.
Step 4: Finishing Touches
Depending on your desired effect, your hairdresser may use a flat iron or curling wand to add the finishing touches when the hair is completely dry. A fast run with the flat iron assures smoothness, while a curling wand creates delicate waves or bouncy curls for a more glamorous look. A last mist of lightweight hairspray or a shine-enhancing serum secures the style and keeps your hair looking good for days.
The DIY Blowout: Can You Achieve Salon Results at Home?
A DIY blowout can be a game-changer when done correctly. While it requires patience and practice, the right tools and techniques can help you achieve a salon-quality finish from the comfort of your home.
Step 1: Start with a Good Wash
The method begins with clean, newly washed hair, similar to a salon blowout. Choose a shampoo and conditioner that is appropriate for your hair type—hydrating formulas for dry hair, volumizing products for fine hair, or smoothing formulas for frizzy hair. Rinse thoroughly to avoid product accumulation, which can weigh the hair down.
Step 2: Apply Heat Protectant & Styling Products
Before reaching for the blow dryer, prep your hair with a heat protectant to minimize damage. If you want extra volume, apply a lightweight mousse at the roots. If sleekness is your goal, use a smoothing cream or serum on damp hair. Distribute the products evenly to ensure every strand is protected and primed for styling.
Step 3: Section Your Hair for Even Drying
One of the most difficult aspects of a DIY blowout is controlling all the hair. The secret is to divide your hair into manageable portions with clips, beginning with the bottom layers and working your way up. This guarantees that each region receives appropriate attention and that heat is not concentrated in the same areas for an extended period.
Step 4: Mastering the Blow-Dry Technique
Begin drying your hair in small areas using a round brush. Hold the brush at the roots and gradually drag it down, sending the dryer’s airflow along the hair shaft. Keep the dryer’s nozzle pointed downward to smooth the cuticle and avoid frizz. As you dry your hair, lift it at the roots to add volume.
If you find it difficult to use both the brush and the dryer at the same time, consider purchasing a blowout brush—a gadget that combines a brush and a dryer for easy style.
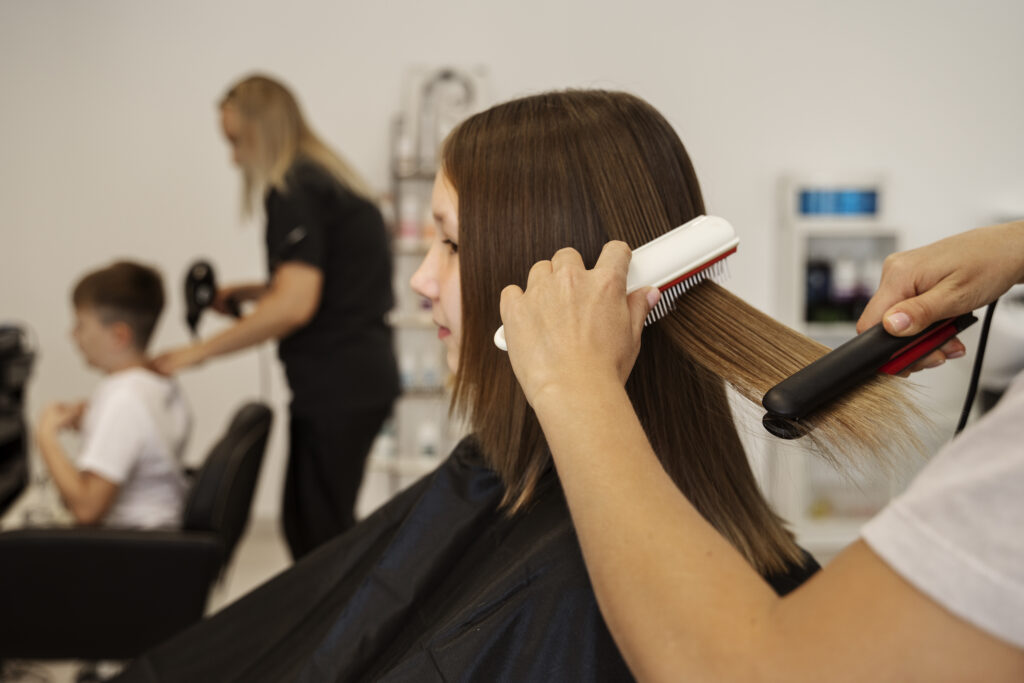
Step 5: Lock in the Style
Once your hair is fully dry, you can enhance the look with a flat iron for sleekness or a curling wand for added waves. A finishing spray or a lightweight oil can help keep frizz at bay and add shine. To extend the life of your blowout, avoid touching your hair too much and use dry shampoo between washes.
Salon vs. DIY Blowout: Which One is Better?
Both salon and DIY blowouts offer advantages, and the ideal choice is based on your preferences and lifestyle.
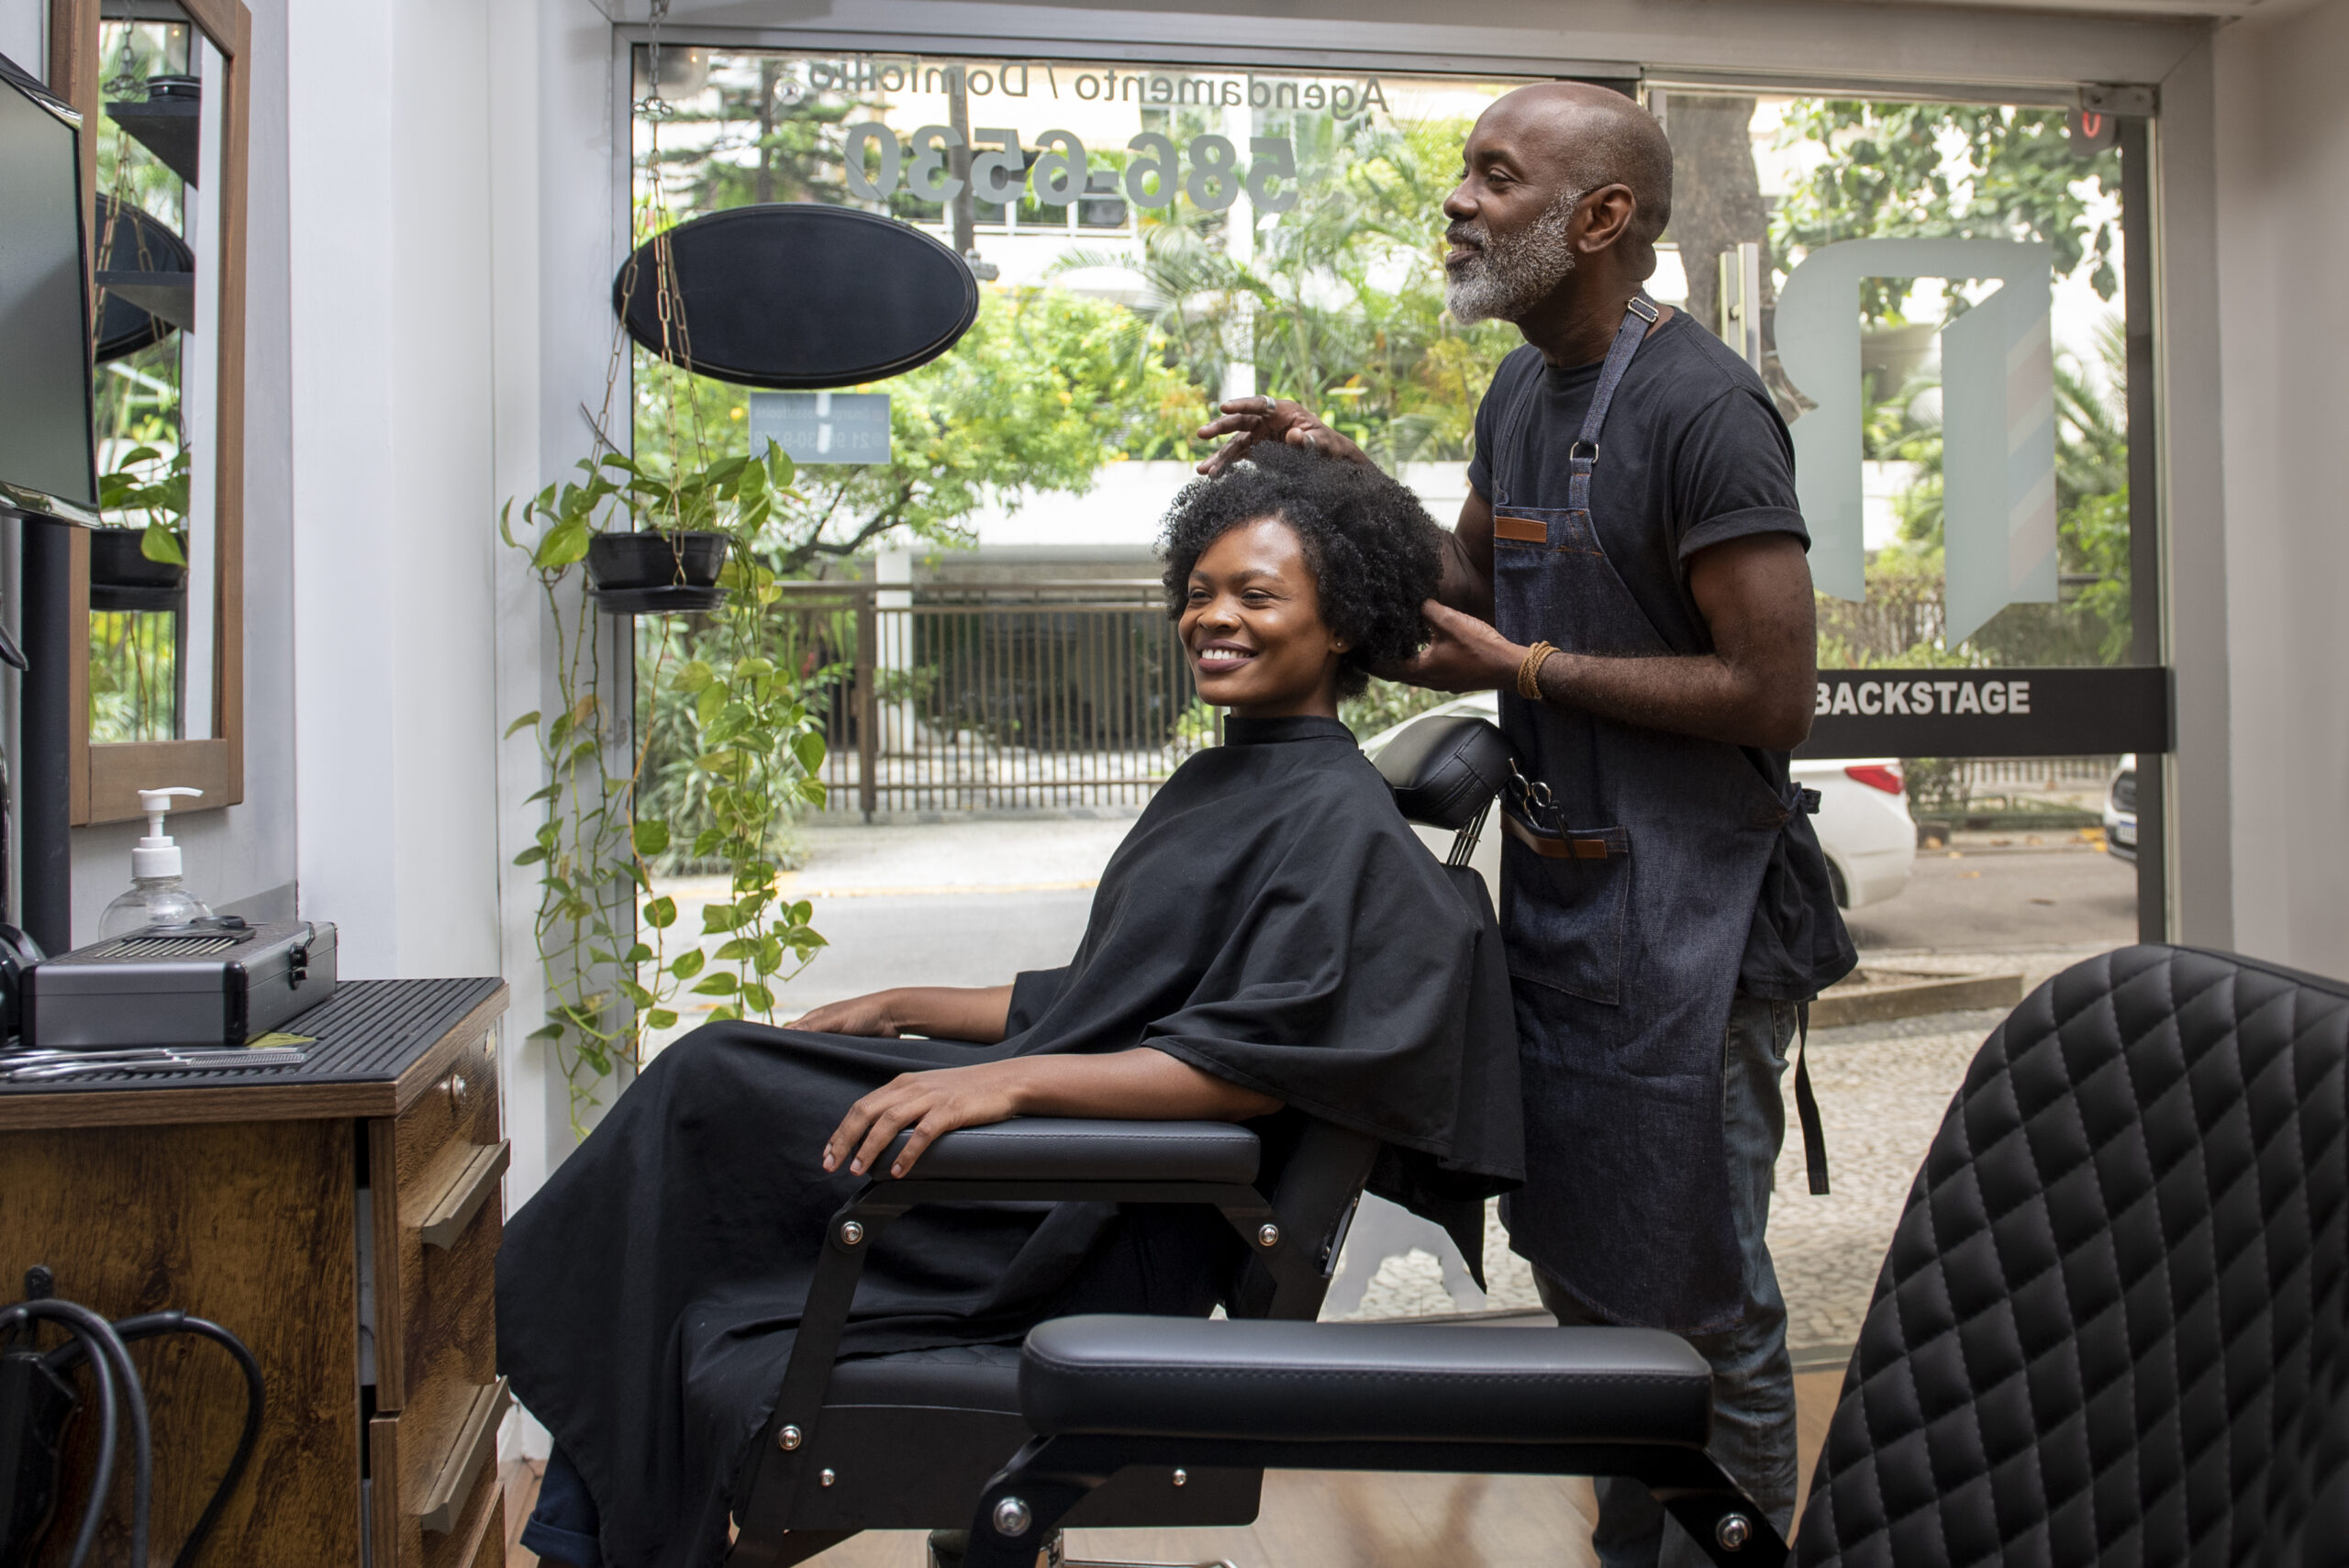
A salon blowout is ideal for achieving professional results with no effort. A stylist’s experience guarantees a long-lasting, frizz-free finish that can last up to a week with proper care. It’s also great for big events where you want your hair to look perfect.
On the other hand, a DIY blowout offers flexibility and cost savings. While it takes practice to master, learning how to style your hair at home can save time and money in the long run. If you invest in quality tools and products, you can achieve results that come close to a professional blowout.
How to Make Your Blowout Last Longer
Regardless of whether you get a salon blowout or do it yourself, maintaining the style is key. Avoid excessive touching, as the oils from your hands can make your hair greasy. Sleep on a silk or satin pillowcase to reduce friction and preserve the smoothness. Use dry shampoo to refresh your roots and absorb excess oil, and if needed, use a blow dryer in a cool setting to reactivate the style.
A hair blowout is a styling technique that brings out the best in your hair, adding shine, volume, and smoothness that lasts for days. Whether you choose a professional salon blowout for a luxurious, long-lasting finish or prefer the convenience of a DIY blowout at home, both options offer unique benefits. The key to a great blowout lies in the right tools, techniques, and products that enhance and maintain the style.
If you want the best salon-quality finish, schedule a professional blowout. However, if you enjoy playing with your hair and want to improve your styling techniques, perfecting a DIY blowout may be extremely rewarding. Whatever direction you take, the confidence that comes with well-styled hair is always worthwhile.